
Every local business owner faces the challenge of making a client’s first impression feel seamless and trustworthy. Setting up comprehensive onboarding requirements and clear timelines lays the groundwork for lasting relationships and increases retention. By mapping out each step, preparing digital assets, and leveraging automation, you can offer a professional experience that grows with your American business and meets your clients’ evolving needs.
Table of Contents
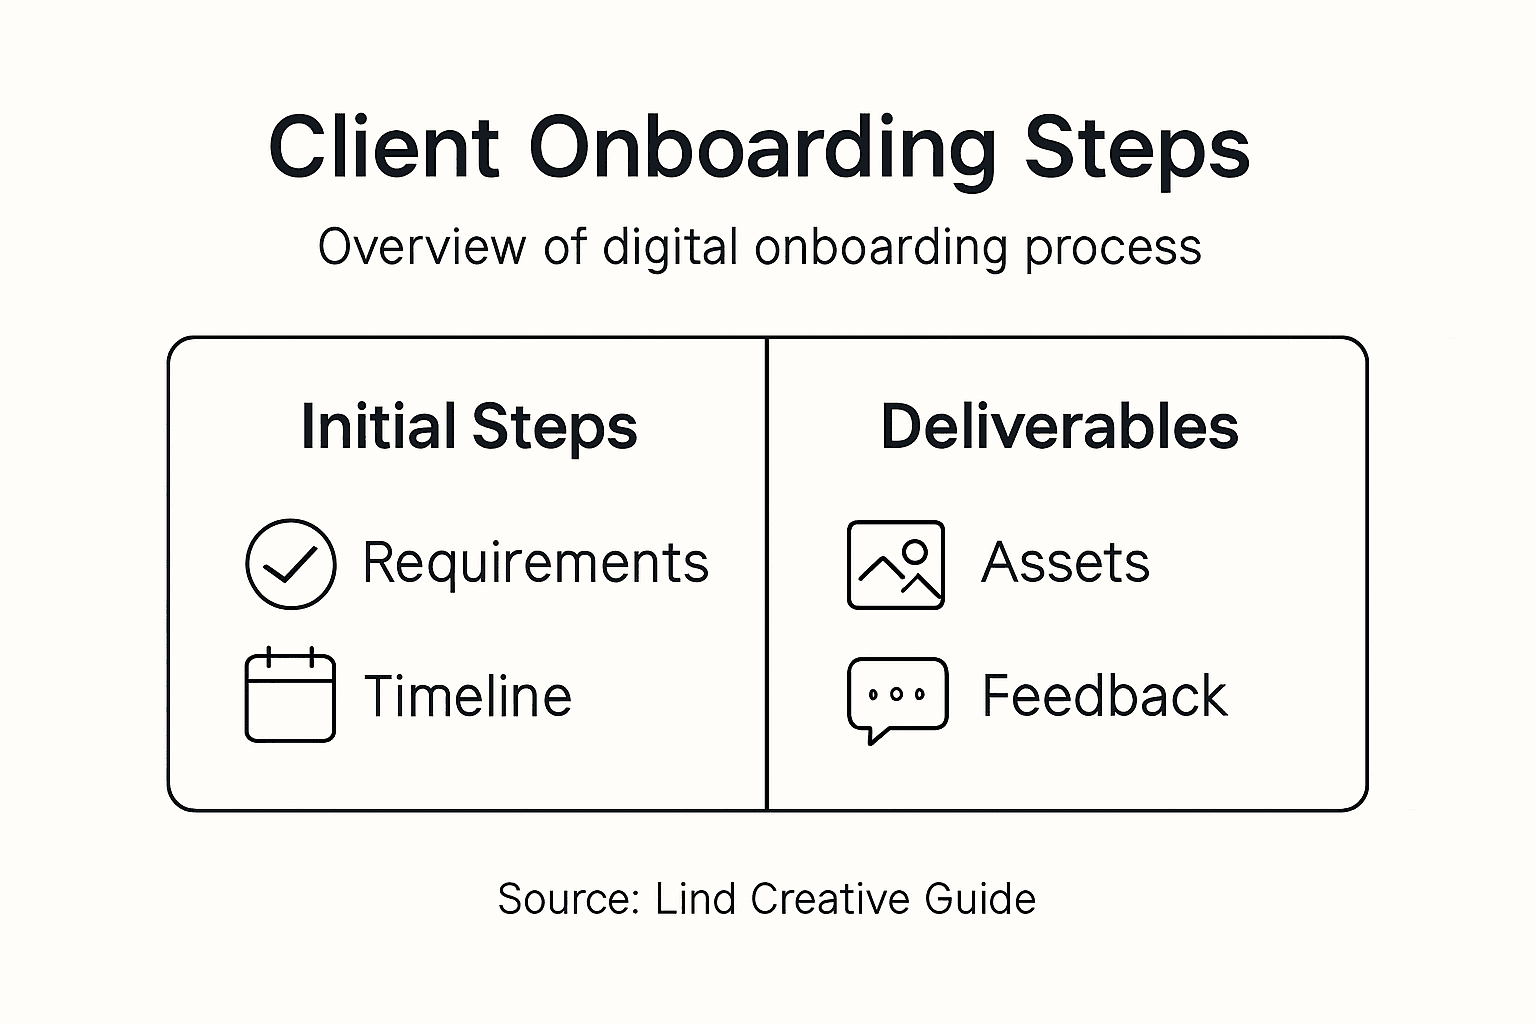
- Step 1: Establish Onboarding Requirements And Timelines
- Step 2: Set Up Digital Assets And Client Communication Channels
- Step 3: Implement Automated Onboarding Workflows
- Step 4: Confirm Deliverables And Review Client Feedback
Quick Summary
| Key Insight | Explanation |
|---|---|
| 1. Define Onboarding Steps Clearly | Establish clear preboarding, orientation, and ongoing training steps for a smoother client onboarding experience. |
| 2. Set Up Digital Tools Beforehand | Ensure clients have access to essential digital tools and communication channels before onboarding starts. |
| 3. Automate Repetitive Tasks | Use automation for welcome emails, task assignments, and follow-ups to streamline the onboarding process. |
| 4. Collect Feedback Regularly | Schedule structured check-ins to gather client feedback and improve your onboarding experience continuously. |
| 5. Document Processes for Consistency | Create simple checklists and reference guides for the onboarding team to ensure consistent execution. |
Step 1: Establish onboarding requirements and timelines
You’re about to set the foundation for your entire client onboarding process. Clear requirements and realistic timelines transform a chaotic first impression into a smooth, professional experience that builds trust from day one.
Start by mapping out what your clients actually need to accomplish before, during, and after signing on. Think about this from their perspective, not just yours. Do they need account credentials set up? Workspace access? An initial strategy call? A welcome package? Write these down as preboarding requirements that happen before the official start date, orientation activities that occur in the first week, and ongoing training that spans the first 30, 60, and 90 days.
Here’s what a typical timeline looks like:
- Before Day One: Send welcome materials, set up accounts, assign a dedicated contact person
- Week One: Schedule orientation call, review contracts and deliverables, establish communication preferences
- Weeks Two Through Four: Begin primary work, conduct check-in meetings, gather initial feedback
- Month Two: Review progress, adjust processes if needed, introduce advanced features or services
- Month Three: Conduct comprehensive review, discuss results and next steps, plan for long-term partnership
Research on comprehensive integration processes shows that effective onboarding extends beyond the first few weeks and can positively impact retention and satisfaction for up to 12 months. This means your timeline should account for ongoing touchpoints, not just initial setup.
Next, assign clear ownership. Who handles what? Designate a primary onboarding owner (often you or a team member), identify support staff, and determine who answers questions at each stage. Create a checklist that mirrors your timeline so nothing gets missed.
Here is a summary of common onboarding roles and their responsibilities:
| Role | Main Responsibility | Typical Tasks |
|---|---|---|
| Primary Onboarding Owner | Oversees full onboarding process | Manages timeline, tracks milestones |
| Support Staff | Provides specialized assistance | Sets up accounts, answers tool questions |
| Client Contact Person | Main point of client communication | Responds to inquiries, gathers client feedback |
Your onboarding timeline should feel ambitious yet achievable, pushing for quick wins while allowing breathing room for relationship building.
Document everything in a simple format your team can follow consistently. A spreadsheet, project management tool, or dedicated onboarding system works equally well. The goal is repeatability, not perfection.
Pro tip: Build in a buffer day between each major milestone to handle unexpected delays or client questions, preventing your timeline from spiraling when life happens.
Step 2: Set up digital assets and client communication channels
Your clients expect to interact with you through modern, reliable digital tools from day one. Setting up the right digital infrastructure removes friction and shows professionalism before any work begins.

Start by identifying which tools your clients will actually use. Email is non-negotiable, but what else? Will they access files through cloud storage like Google Drive or Dropbox? Do you need a project management platform like Asana or Monday.com for transparency? Will you use Slack for quick questions or stick with email for everything? Your choices should match your client’s comfort level and your service delivery model.
Here’s what to set up before onboarding begins:
- Email address or mailbox dedicated to their account with a clear naming convention
- Cloud storage folder organized by project phase or deliverable type
- Project management workspace with initial tasks, timelines, and deliverables visible
- Communication platform access (Slack channel, Teams group, or alternative)
- Document templates ready for contracts, reports, and feedback forms
- Shared calendar or scheduling link for easy meeting booking
When designing these channels, consider creating continuous digital experiences that keep clients informed and engaged throughout your relationship. The goal is not to overwhelm them with options but to establish clear pathways for different types of communication.
Test everything before the client arrives. Log in as if you’re them. Can they access what they need? Is anything confusing? Are there unnecessary steps? Fix these issues now, not during their first week.
Create a simple one-page guide showing them where everything is and what each tool is for. Include login instructions, password reset links, and your support contact information. This becomes their reference document when they forget which platform hosts which information.
The best digital setup is invisible to your client—it just works without requiring them to think about it.
Pro tip: Set up a welcome email automation that sends clients their access credentials and platform guides 24 hours before their start date, giving them time to log in and ask questions before your first meeting.
Step 3: Implement automated onboarding workflows
Manual onboarding processes eat time and create inconsistencies. Automation transforms repetitive tasks into seamless sequences that run 24/7, freeing you to focus on relationship building instead of administrative busywork.
Start by mapping which tasks repeat for every client. Are you sending welcome emails? Creating folders? Assigning initial tasks? Scheduling follow-up meetings? Sending documents for signature? These are your automation candidates. When you implement digital workflows with automation, you create consistent experiences while reducing the manual effort that slows down your team.
Choose a tool that fits your existing systems. Zapier connects virtually anything. Make.com offers visual workflow builders. HubSpot has native automation for agencies. Alternatively, your project management platform might have built-in automation features you’re not using yet. The tool matters less than the workflows themselves.
Below is a comparison of leading onboarding automation tools and their ideal use cases:
| Tool | Primary Strength | Best For |
|---|---|---|
| Zapier | Broad third-party support | Connecting different platforms |
| Make.com | Visual workflow building | Custom, complex automations |
| HubSpot | Built-in agency features | Native CRM and marketing flows |
| Asana | Integrated task triggers | Project management automation |
Here’s what to automate first:
- Send welcome email with login credentials and platform guide when contract is signed
- Create project workspace automatically with templates and initial tasks
- Schedule first meeting 24 hours after onboarding starts with reminder emails
- Generate intake form responses into a shared document for team visibility
- Send milestone reminders on days 7, 30, and 60 with check-in questions
- Trigger feedback surveys automatically at specific project phases
Build each workflow step by step. Test with a fake client account first. Walk through the entire process as your client would experience it. Does anything feel too automated? Too robotic? Adjust the messaging to sound human and personal, even though the system is running on its own.
Start with three core workflows, then expand. Trying to automate everything at once creates confusion. Small, focused automations that work flawlessly beat complex systems that break.
Automation should feel invisible to your client—they experience excellent service without knowing a system made it possible.
Pro tip: Build in a “human checkpoint” where a team member reviews automated workflows before they send to clients, catching any personalization gaps or errors before they reach inboxes.
Step 4: Confirm deliverables and review client feedback
The first 30 days reveal whether your onboarding process actually works. Confirming deliverables and gathering honest feedback transforms your onboarding from a one-time event into a continuous improvement cycle.
Schedule a structured check-in around day 14 or day 21. Don’t make it casual. Come prepared with specific questions about their experience. Did they receive everything they expected? Could they access the tools easily? Did the timeline feel realistic? Ask what surprised them, what confused them, and what exceeded expectations.
Confirm your deliverables are actually being used and understood. Ask clients to demonstrate they can access key platforms. Have them walk you through their first project tasks. This catches access issues and misunderstandings before they become bigger problems.
Use a structured feedback format to gather consistent data:
- Rate your welcome materials on clarity and usefulness
- How easy was it to access your account and tools?
- Did the onboarding timeline align with your expectations?
- What part of the process felt most helpful?
- What would have made your first week better?
- Do you have any questions or concerns about next steps?
Actually listen to the feedback instead of defending your process. When clients mention confusion, that’s not criticism—it’s a gift. It shows you exactly where to improve. Establishing continuous feedback loops lets you catch gaps quickly and adjust while the relationship is fresh.
Document what you learn. Keep a simple spreadsheet tracking feedback patterns. Are multiple clients struggling with the same tool? Do they all mention needing clearer instructions on one task? These patterns show you what to fix in your standard process.
Make one visible change based on their feedback before your next client. When clients see their suggestions actually matter, they feel heard and valued.
The onboarding process isn’t about being perfect—it’s about being responsive to what clients actually need.
Pro tip: Send a follow-up email after your feedback conversation summarizing what you heard, what you’ll change, and when they’ll see improvements, demonstrating their input directly shaped your service.
Transform Your Client Onboarding Into Seamless Digital Success
Struggling to create a smooth and effective client onboarding process that builds trust and drives engagement? This guide highlights how establishing clear timelines, digital asset setups, automation, and feedback loops are essential to eliminating confusion and enhancing client satisfaction. Lind Creative understands these challenges and combines strategy-driven design with advanced marketing automation to help you deliver consistent, high-impact experiences that retain clients and grow your business.
Explore expert solutions in our Resources – Lind Creative to simplify your onboarding workflow and elevate your branding efforts with our Branding & Identity – Lind Creative services. Whether building a new brand or scaling your digital presence, visit Lind Creative today to discover how we blend creativity, technology, and strategic automation to transform your client relationships and accelerate measurable results. Start enhancing your client onboarding journey now.
Frequently Asked Questions
What are the key steps in the client onboarding process for digital services?
To effectively onboard clients, start by establishing onboarding requirements, setting up digital assets, implementing automated workflows, and confirming deliverables. Each step ensures a smooth transition, builds trust, and sets clear expectations.
How should I establish timelines for client onboarding?
Create a timeline that includes preboarding requirements before the start date, orientation activities in the first week, and ongoing training over the first 30, 60, and 90 days. Assign clear ownership for each stage to ensure accountability.
What digital communication tools should I set up for new clients?
Identify and set up tools like email for communication, cloud storage for document sharing, and project management platforms for task transparency. Ensure these tools match your clients’ comfort levels and are ready before onboarding begins.
How can I automate my client onboarding workflows?
Map out repetitive tasks such as sending welcome emails and scheduling meetings, and use automation tools to streamline these processes. Start with a few core workflows, testing each one to provide a seamless experience.
How do I gather and act on client feedback during onboarding?
Schedule structured check-ins around day 14 or 21 to ask specific questions about their onboarding experience. Document their feedback and make at least one visible change based on their suggestions to show responsiveness and elevate client satisfaction.
Recommended
- Website Conversion Optimization Guide for Shopify Success – Lind Creative
- Step by Step Website Launch Guide for Business Growth – Lind Creative
- Build a High-Converting Digital Marketing Workflow – Lind Creative
- Digital Branding: Building Impactful Online Identities – Lind Creative
- Was ist Onboarding im BPO? Kernprozesse & Nutzen
- How to Create a Video Streaming Website? – Ein-Des-Ein blog